Pinnock machine we have
I haven’t been able to sew using the heavy duty Pinnock machine that Neil bought. In fact, I can’t even lift it. It’s frustrating as he bought it looking at doing repairs, making covers with canvas etc. When I tried using it to make deck pod protectors, the top bobbin kept spinning so much when the pedal was depressed that the thread wrapped itself around the metal spindle it sits on. The pedal is hard to control for a slow speed, it is either all or nothing. After a few hours sat on deck (with an audience on the bank) of rewinding the reel, I gave up.
I had been looking around for a small machine and I found the Janome 140M mini sewing machine from Hobbycraft. It has a single dial with 4 straight length stitches, 3 zig zags, a reverse button and top drop-in bobbin. When I got mine they were £39.00 with free UK delivery. It also has the benefit of weighing not much more than 2 bags of sugar. It’s easily stowed in a bag along with the power and pedal leads and I’ve made a few things so far.

During the build, Neil built the steering pod with an adjustable height roof to give more protection when steering the boat. In reality this has also given us a useable space for all sorts of things. However, initially it wasn’t weather proof and to have professionally made covers would be expensive. We did some measurements and ordered some clear plastic that is used for tent windows. We did get the thinnest/cheapest just in case what we planned didn’t work. We made the four sides separately and used a pre-made bias tape in yellow to edge the plastic sheet to give strength to the edges. I found the yellow 2” bias tape in Truro Fabrics and although it took a bit of feeding through, as the plastic wants to stick to the sewing plate, I managed to edge all 4 sides around all four sides and made the relevant cut outs for handles, ropes etc. My cut outs aren’t very neat but they do the job. In all I think I used about 60m of the bias tape. Initially I only anticipated using it on the top and bottom edges where the turn buckles were going to be but soon realised for strength and asthetically, to edge all around was better.

Homemade Pod Protectors

Turn buckle/button fastenings
They are fixed to the wood using turn buttons or turn buckles. I have only been able to source these via chandleries or on-line. Haberdashers don’t seem to stock them. We have used them a lot. Not just for the pod protectors but also for putting a cover over our bookcase and attaching a pocket (initially for the back of a car seat) onto the back of the pod and in the single berth to give some easy storage.

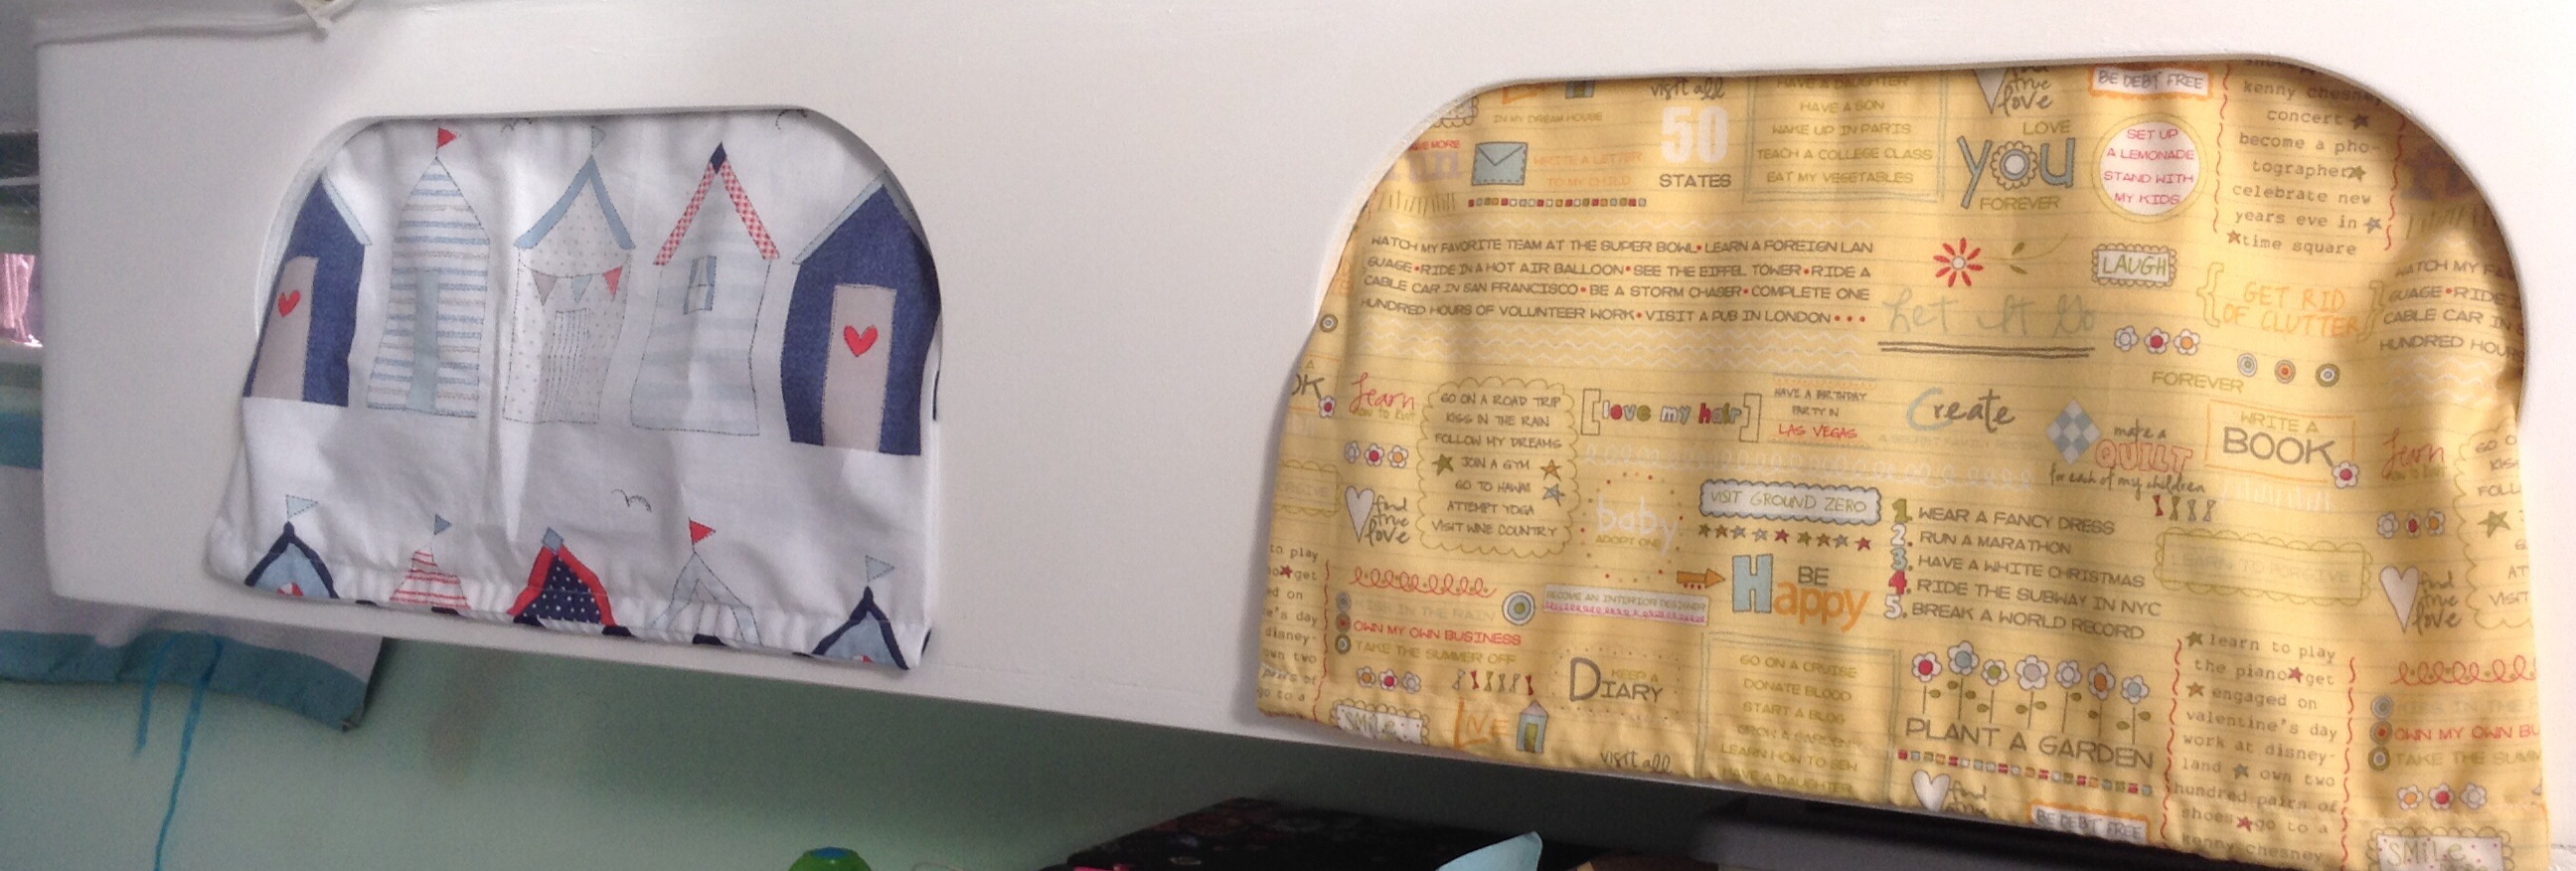
Pocket Tidy similar to this but in green
The pod protectors have proved really useful and have held up to some real weather. They won’t hold up to heavy sailing weather and one of our winter jobs is to look at replacing at least the back and front with professionally made, or better home made, versions. We do for now though have a dry space where when the weather is wet and windy is mainly dry and surprisingly warm. It often is the “office” as it is the best place to get a good wifi signal and the drying room. It could be a mini greenhouse but I don’t think Neil fancies that idea. He has this fear of me turning his sail boat into a house boat/canal boat. In total, the materials for the protectors cost approx £80 for all 4 sides.
I also made, from existing cushion covers I had already made, some cubby curtains for my side of our bed. I think they are helping keep out the condensation. They are attached inside at the top with velcro (stuck onto the wood and sewn onto the fabric) and then they are weighted at the bottom with a length of lead curtain weight to keep them in place. Sometimes I leave them hanging out, sometimes I tuck them inside. Depends on my mood!